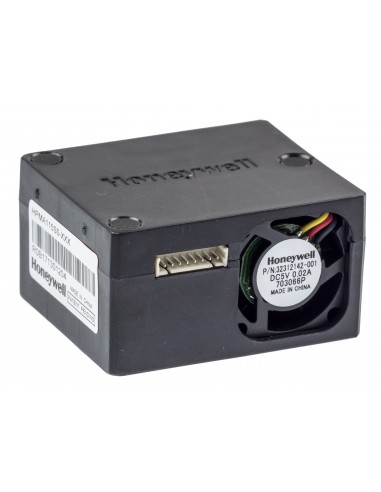


HPMA115S0 HONEYWELL Capteur: particules Ualim 5VDC Amplitude: 0-1000ug/m3 -10÷50°C
Wiring of the sensor requires only four pins:
Pin 1 (3.3V output) is left unused. The wire is not connected, as the Arduino board provides its own 3.3V power supply.
Now, the sensor is ready to be used. What about communicating with an Arduino?
The sensor needs 5V power input but relies on a 3.3V logic level interface. This makes things a bit complicated.
Of all the Arduino boards, my choice went to an Arduino Due, more exactly in the shape of the Flip&Click SAM3X by MikroElektronika. The main reason for this choice is that I already have one proto click with screw terminals for UART communication, so it’s easy to make all the required connections.
The 5V power is taken from the Flip & Click board. The Arduino Due works with 3.3V logic, so everything is OK
You might also like