- Out-of-Stock


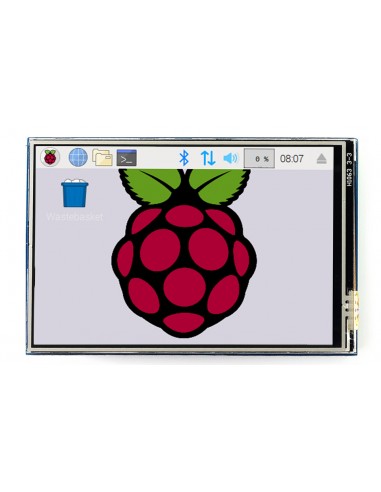
This TFT LCD is designed for RPI, you can design it for many other things. It is play and plug, very easy and good item for your raspberry pi project and just simple connect to Raspberry Pi, you can start you Raspberry pi experience.
3.5inch RPi LCD (B) are hardware compatible with each other (uses different driver), and can be mutually substituted in most cases. (A) for low cost ver. while (B) for IPS ver. with better displaying.
| LCD Type | TFT |
|---|---|
| LCD Interface | SPI |
| Touch Screen Type | Resistive |
| Touch Screen Controller | XPT2046 |
| Colors | 65536 |
| Backlight | LED |
| Resolution | 320*480 (Pixel) |
| Aspect Ratio | 8:5 |
| Power Consumption | TBD |
| Backlight Current | TBD |
| Operating Temp. (℃) | TBD |
| PIN NO. | SYMBOL | DESCRIPTION |
|---|---|---|
| 1, 17 | 3.3V | Power positive (3.3V power input) |
| 2, 4 | 5V | Power positive (5V power input) |
| 3, 5, 7, 8, 10, 12, 13, 15, 16 | NC | NC |
| 6, 9, 14, 20, 25 | GND | Ground |
| 11 | TP_IRQ | Touch Panel interrupt, low level while the Touch Panel detects touching |
| 18 | LCD_RS | Instruction/Data Register selection |
| 19 | LCD_SI / TP_SI | SPI data input of LCD/Touch Panel |
| 21 | TP_SO | SPI data output of Touch Panel |
| 22 | RST | Reset |
| 23 | LCD_SCK / TP_SCK | SPI clock of LCD/Touch Panel |
| 24 | LCD_CS | LCD chip selection, low active |
| 26 | TP_CS | Touch Panel chip selection, low active |
For more info, please check the wiki page.
You might also like