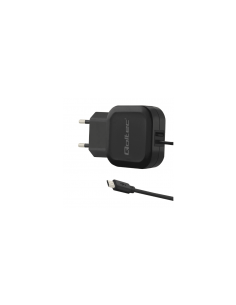
An unstable boot or throttled performance is often the sign of an undersized power supply on the Raspberry Pi 4. Before tackling your first electronic circuits, it is crucial to secure the board's energy source and master basic passive components like resistors and connectors.
Why Your Raspberry Pi 4 Needs a Dedicated 5V/3.4A Power Supply
Unlike previous models that tolerated various USB chargers, the Raspberry Pi 4 imposes strict requirements via its USB-C port. Official documentation recommends a high-quality power supply delivering at least 3A at 5V to function correctly under load.
The Risks of Generic Chargers
Using standard phone chargers can lead to brownouts. The system displays a lightning bolt icon and automatically reduces the processor frequency to protect the hardware. Additionally, some chargers struggle to negotiate the USB-PD protocol necessary for stable power distribution.
The ideal solution is the DC 5V 3.4A Type C USB Power supply (raspberry pi 4). Designed specifically for this platform, it offers:
- Universal AC input (100-240 V) compatible worldwide.
- A stable output current of 3.4 A, exceeding the minimum requirement.
- A robust USB Type-C connector ensuring a reliable connection.
Note that while the board can boot with less power, it will be throttled in performance and display undervoltage warnings.
The First Step in Prototyping: Male Pin Headers
The GPIO (General Purpose Input/Output) is the heart of physical interaction with the Pi. The industry standard relies on a 40-pin interface spaced at 2.54 mm.
Adapting the Header Strip to Your Needs
If your board is not pre-soldered or if you need to add female headers for your HATs, the 0.1" (2.54mm) Male Header Strip 1 Row / 40 Pins is the fundamental component. This continuous strip can be manually snapped to obtain the exact length required by your project, whether it be 6, 12, or 40 pins.
Soldering onto a breadboard or directly onto the board allows for creating solid connection points. The 11 mm height ensures good accessibility even in compact configurations.
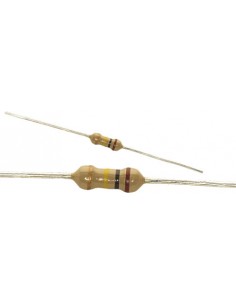
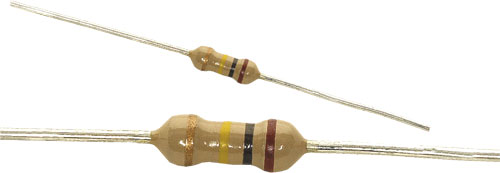
Building Simple Circuits: Carbon Film Resistors
Resistors are ubiquitous for protecting LEDs, defining logic states (pull-up/pull-down), or dividing voltages. To get started, it is often more efficient to buy single-value packs rather than bulky assortment kits.
Quick Calculation for an LED
Imagine you want to light up a red LED (forward voltage ~1.8V) from a 3.3V GPIO pin. To limit the current to 10mA, use Ohm's Law:
R = (V_source - V_led) / I
R = (3.3V - 1.8V) / 0.010A = 150 Ohms
The 10 Resistors pack (1/4w, carbon film, THT, ±5%) is ideal for this type of point application. With a nominal power rating of 1/4 W and a tolerance of ±5%, these components are more than sufficient for the Pi's low-power projects.
Warning: Each pack contains only one resistance value. Verify the required value before purchasing.
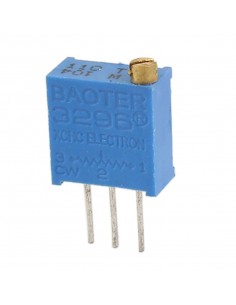
Fine-Tuning with Trimmer Potentiometers
For prototypes requiring precise analog adjustment, standard rotary potentiometers can sometimes be too imprecise. The 3296 series offers a superior alternative thanks to its multi-turn mechanism.
High-Precision Adjustments
The Boater 3296 Potentiometer Trimmer features 25 full turns to reach its maximum resistance. This allows for extremely fine adjustments, impossible with a single turn.
These components are perfect for:
- Calibrating the trigger threshold of a light sensor.
- Adjusting LED brightness without modifying software code.
- Setting a stable reference voltage for an analog circuit.
Note, however, that they require a small flathead screwdriver for adjustment and are less convenient than a rotary knob for end-user products.
What's Next?
Now that your power supply is secured and you have mastered the basics of wiring, you are ready to explore environmental sensors or build your own automated weather station. Don't forget to check the compatibility of your new modules with the Pi's 3.3V logic levels.